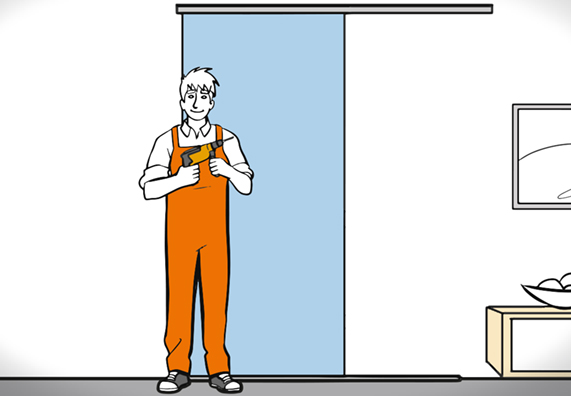
Whether for locking or separating, made of glass or wood – sliding doors look elegant and have many advantages. When opened, they nestle discreetly one behind the other, against a wall or disappear completely into a niche. They never get in the way and take up far less space than swing doors.
Cabinets with sliding doors are particularly practical in small rooms – without any cumbersome opening and closing, so that you can even pass by. Sliding doors can also be used as room dividers, for example to open a work or storage area that disappears elegantly from view when closed. With a set of fittings and a little practice, you can even try your hand at a precisely dimensioned wooden sliding door. But consider whether it should be a door that is hung in front of a niche – i.e. fastened to the lintel above it – or one or more door elements that separate a room and are thus fastened to the ceiling. https://cghardware.com/
Especially for the second case, a made-to-measure solution is usually required, which you can easily implement yourself with our self-construction instructions. Read here how to make and assemble a wooden sliding door in 7 steps and which material and tools you need.
Step 1 – Measuring the sliding door
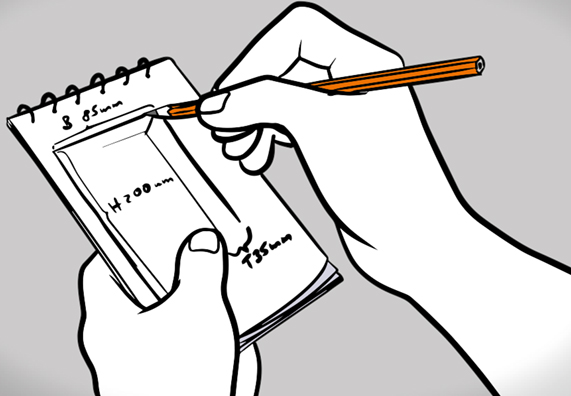
Measure the intended space for your new sliding door all around and note all values on a sketch. You can use this sketch to better plan the installation.
Step 2 – Calculate required elements for the sliding door
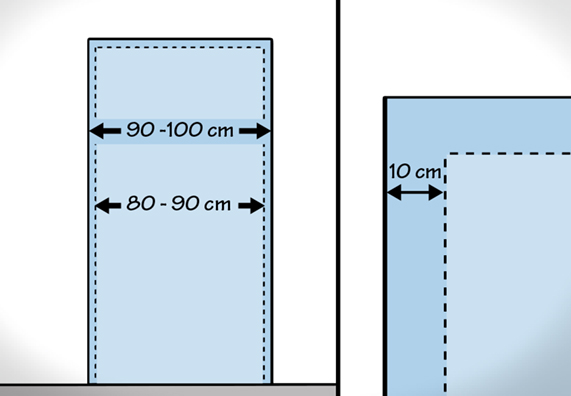
To be able to calculate the required door elements, first select the desired sliding door fitting and determine the weight of the desired material for the required size. The elements must each be below the permissible weight for the fitting, even if they overlap by about 5 cm on each side.
If it matches the weight, at least 90 to 100 cm are advisable for passages per element, so that a wheelchair, for example, also fits due to the resulting clear width of about 80 to 90 cm. Determine the height using the instructions for the fitting set, as it must be adjusted according to the rollers, rail thickness and floor covering.
Step 3 – Selection and cutting of the door panel material for the sliding doors
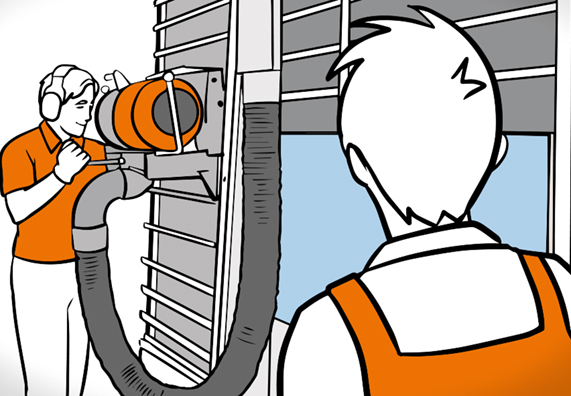
Choose the right material for your sliding door – e.g. a 19 mm thick chipboard with 12 or 13 kg per m² or a 19 mm thick MDF board with 16 to 17 kg per m². This can then be cut to size directly by our cutting service.
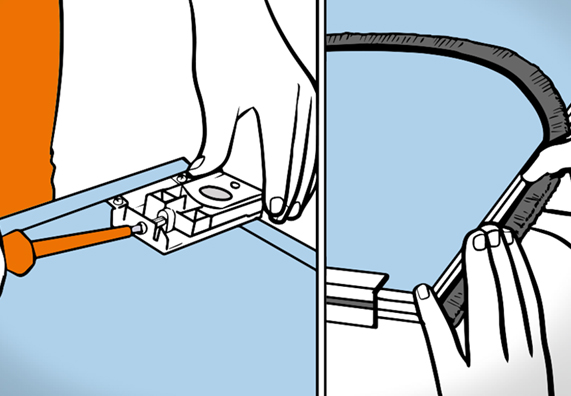
Do-it-yourselfer saws out cut-outs for rollers and handles for the sliding door panel and attaches rails.
Step 4 – Prepare and process the door elements of the sliding door

At home, you first saw out the necessary cut-outs for the rollers and the handle according to the instructions for the fittings. Depending on the system and lower rail, a groove may also need to be milled into the lower edge.
Then sand the panels according to the material, smooth the edges with sandpaper and prepare them as desired with a primer for subsequent varnishing, painting or wallpapering. After the boards have dried thoroughly, apply the final treatment and allow them to dry thoroughly again.
Alternatively, you can use coated boards, glue or coat the boards yourself, or edge them with aluminium profiles, for example. Let your creativity run free!
Always treat wooden panels from both sides – even if the back of the door is not visible at all. This is the only way to prevent the panels from warping and your sliding door from catching and jamming after a short time.
Step 5 – Attaching the fittings to the sliding door elements
Now attach fittings for sliding doors to the elements according to the instructions in the fittings set. To seal the small gaps that always appear with sliding doors, you can attach self-adhesive sealing brushes to the overlapping sides. It is best to glue these along the edge behind the other door – so they are not visible from the outside.
Step 6 – Attach rails to ceiling and floor for sliding door
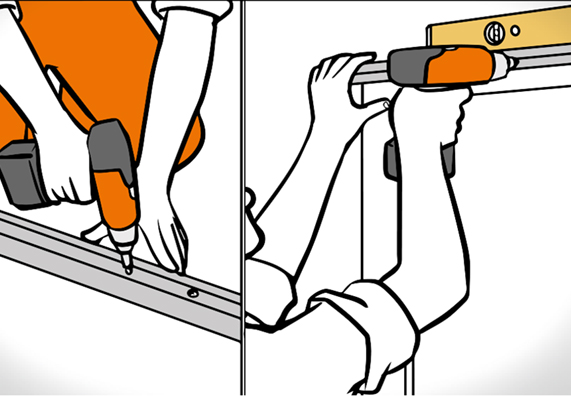
Next, measure the exact length of the ceiling rail for your sliding door and adjust it accordingly. Then hold the rail in the desired position with a helper and mark the holes with a pencil. Drill the holes in the appropriate size and then attach the ceiling rail according to the instructions. Check the horizontal alignment with a spirit level.
Now shorten the bottom rail of your sliding door to the appropriate length, place it in the appropriate position and temporarily suspend one of the door elements. Align the door element again using a spirit level, slide the bottom rail into position accordingly and mark it exactly on the surface. Now push the door to the other side and repeat the procedure. Then hang the door out again, move the floor rail exactly to the markings and attach it according to the instructions.
Step 7 – Hook in the door elements of the sliding door
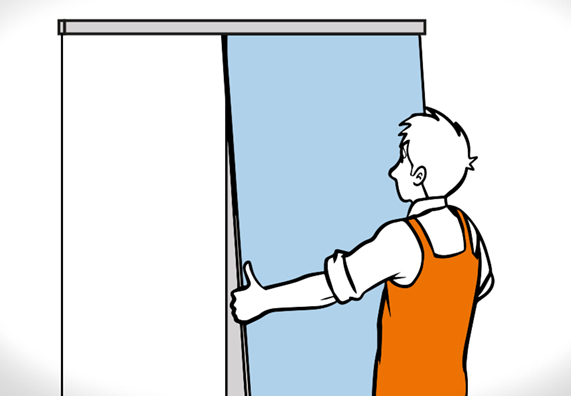
Finally, hook the door in from the rear to the front and, if necessary, align it with the side adjusting screws of the fittings until they are flush.
If the walls are so slanted or uneven that it is impossible to align them, you can compensate for this with a wooden batten in a matching colour. Hold it against the wall in its raw state and paint the unevenness of the wall exactly. This can be done by knotting a string around a pencil, wrapping the other end around your finger, moving the wall with it and transferring the line with the pencil on the string, which is always the same tension, to the lath. Saw out, treat, attach – and the sliding door closes perfectly!
In just 7 steps, the dimensionally accurate sliding system is ready. If you have any questions about preparation, material requirements or procedures, get advice.